Today is Global Recycling Day. So does recycling actually work?
Recycling is THE single best known ‘green’ concept, I reckon. Say ‘environment’ and the answer is ‘recycling’. It’s what kids are taught to do at school, it’s what labels on plastic products claim they (can) do, it’s what any environmentally-minded and nature-loving person is honour-bound to do.
But does it work??? No.
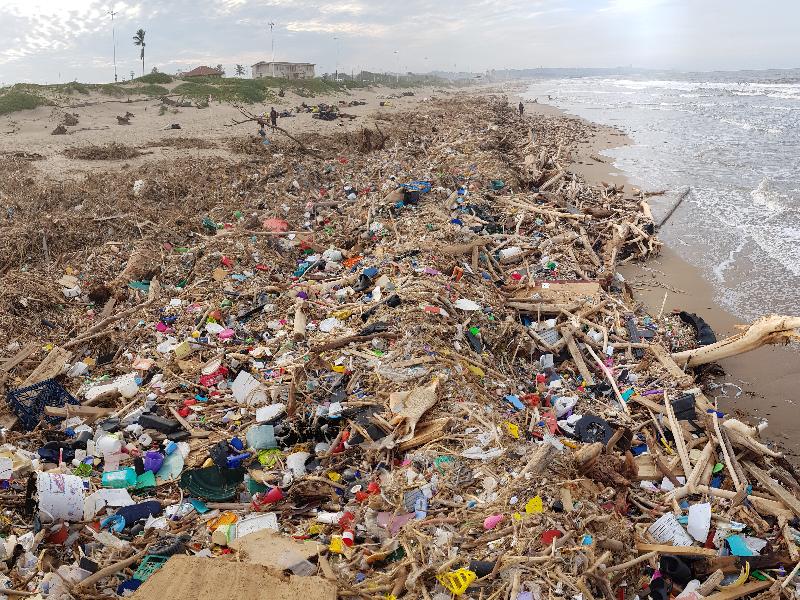
In South Africa, at least 90% of our 54 million plus tons of annual waste lands up in landfill sites, or is just dumped anyhow and anywhere, spoiling nature, and often ending up in the sea.

Sure, recycling generates income for nearly a quarter of a million waste-pickers and powers South Africa’s recycling economy, but… should it have to? Banning so-called problem plastics (including polystyrene containers, plastic cutlery, food sachets and snack packaging) would actually boost the economy.


According to Greenpeace, four years ago 34 out of 54 African countries had passed laws banning single-use plastics, or were planning to, but real-life results are far from encouraging. Even though South Africa made it onto that list, it is apparently the world’s 11th-biggest litterbug.
Recycling is NOT the solution to the problem of plastic. The Fraud of Plastic Recycling describes “how Big Oil and the plastics industry deceived the public for decades and caused the plastic waste crisis.” Separating fact from convenient fiction and plenty other online articles debunk myths around recycling. Even the word ‘litterbug’ was invented in “sophisticated marketing campaigns to shift blame from producers to consumers”, while plastics companies fought tooth and nail against anti-plastic laws and bans.
As a consumer I really struggle to avoid buying unwanted plastic with my groceries. Every time I challenge a shop manager on their excessive use of plastic, their excuse is ‘consumer pressure’ FOR small and tidy portions wrapped in duplicate or triplicate. I’m not sure if this is just an excuse, or if they really do get customer complaints like “I demand my food is wrapped in more plastic”. When will we as consumers put our foot down on this issue?
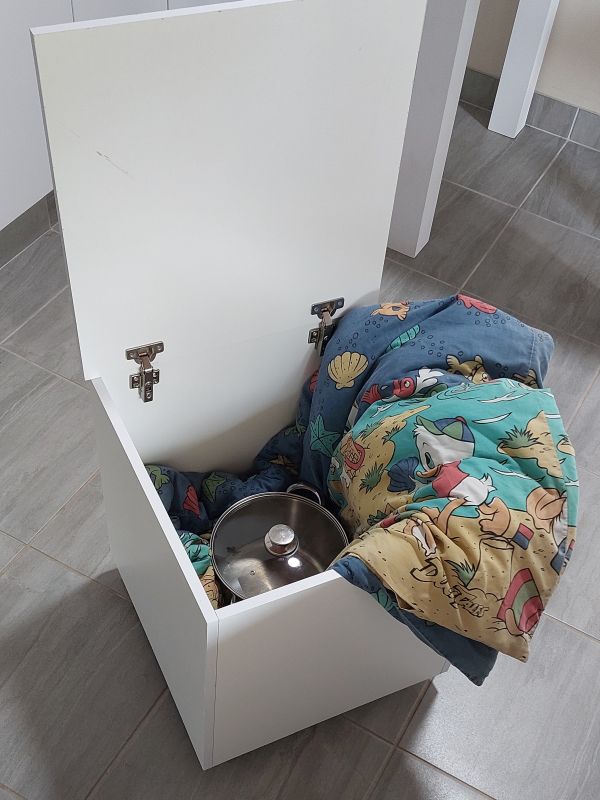
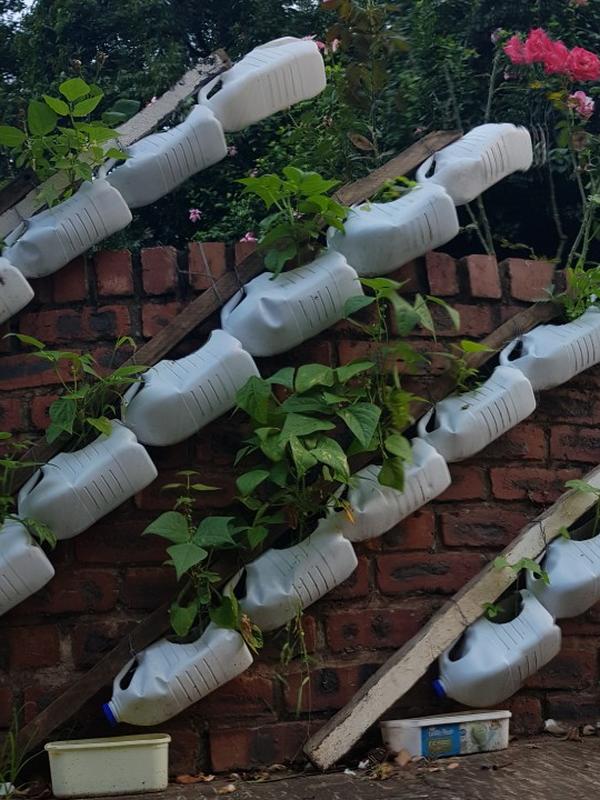
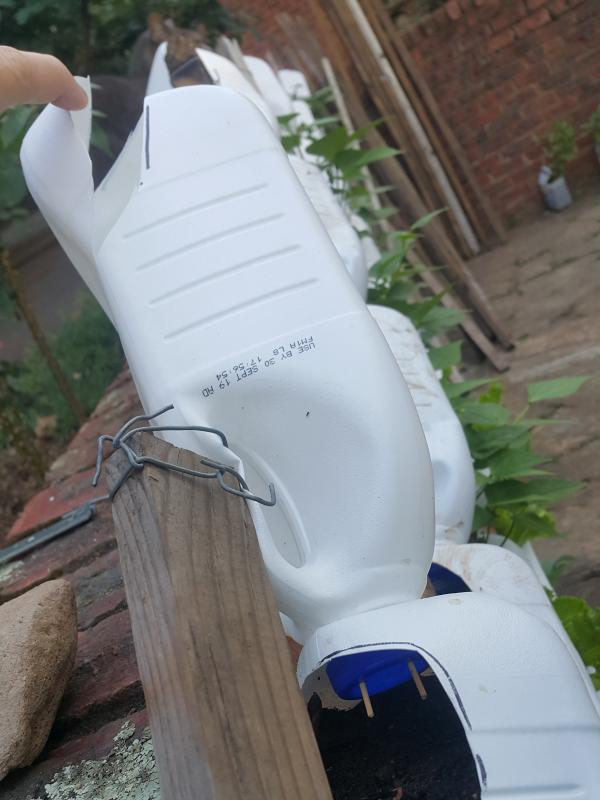
In the meantime, and even though I know it mostly doesn’t work, I recycle faithfully. What else can one do? For three years I collected all the empty milk bottles our family was using, planning to organize a ‘bottle garden workshop’ some day. But I never got around to it, and the bottles piled up. And up.

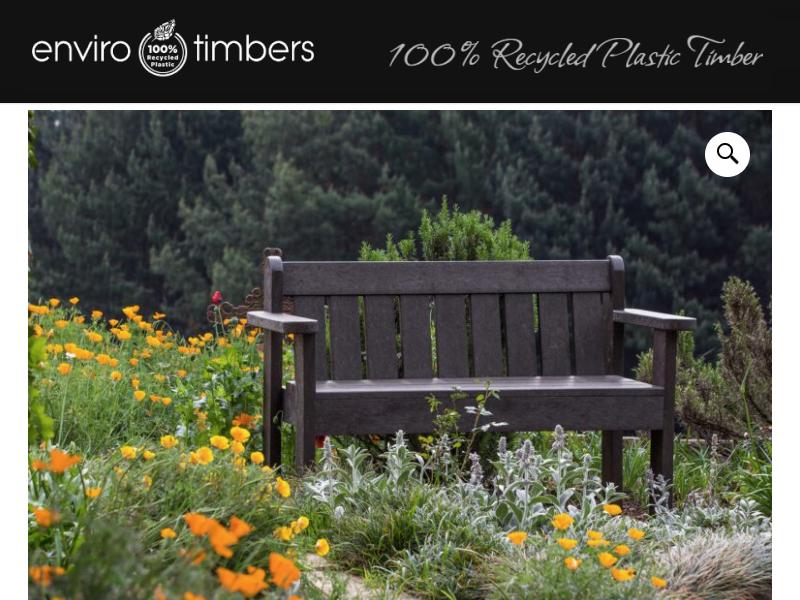
Luckily a friend told me that the local SPCA is collecting milk bottles and passing them on to a local family run business that turns plastic into furniture! So my bottle-mountain found a new home.